
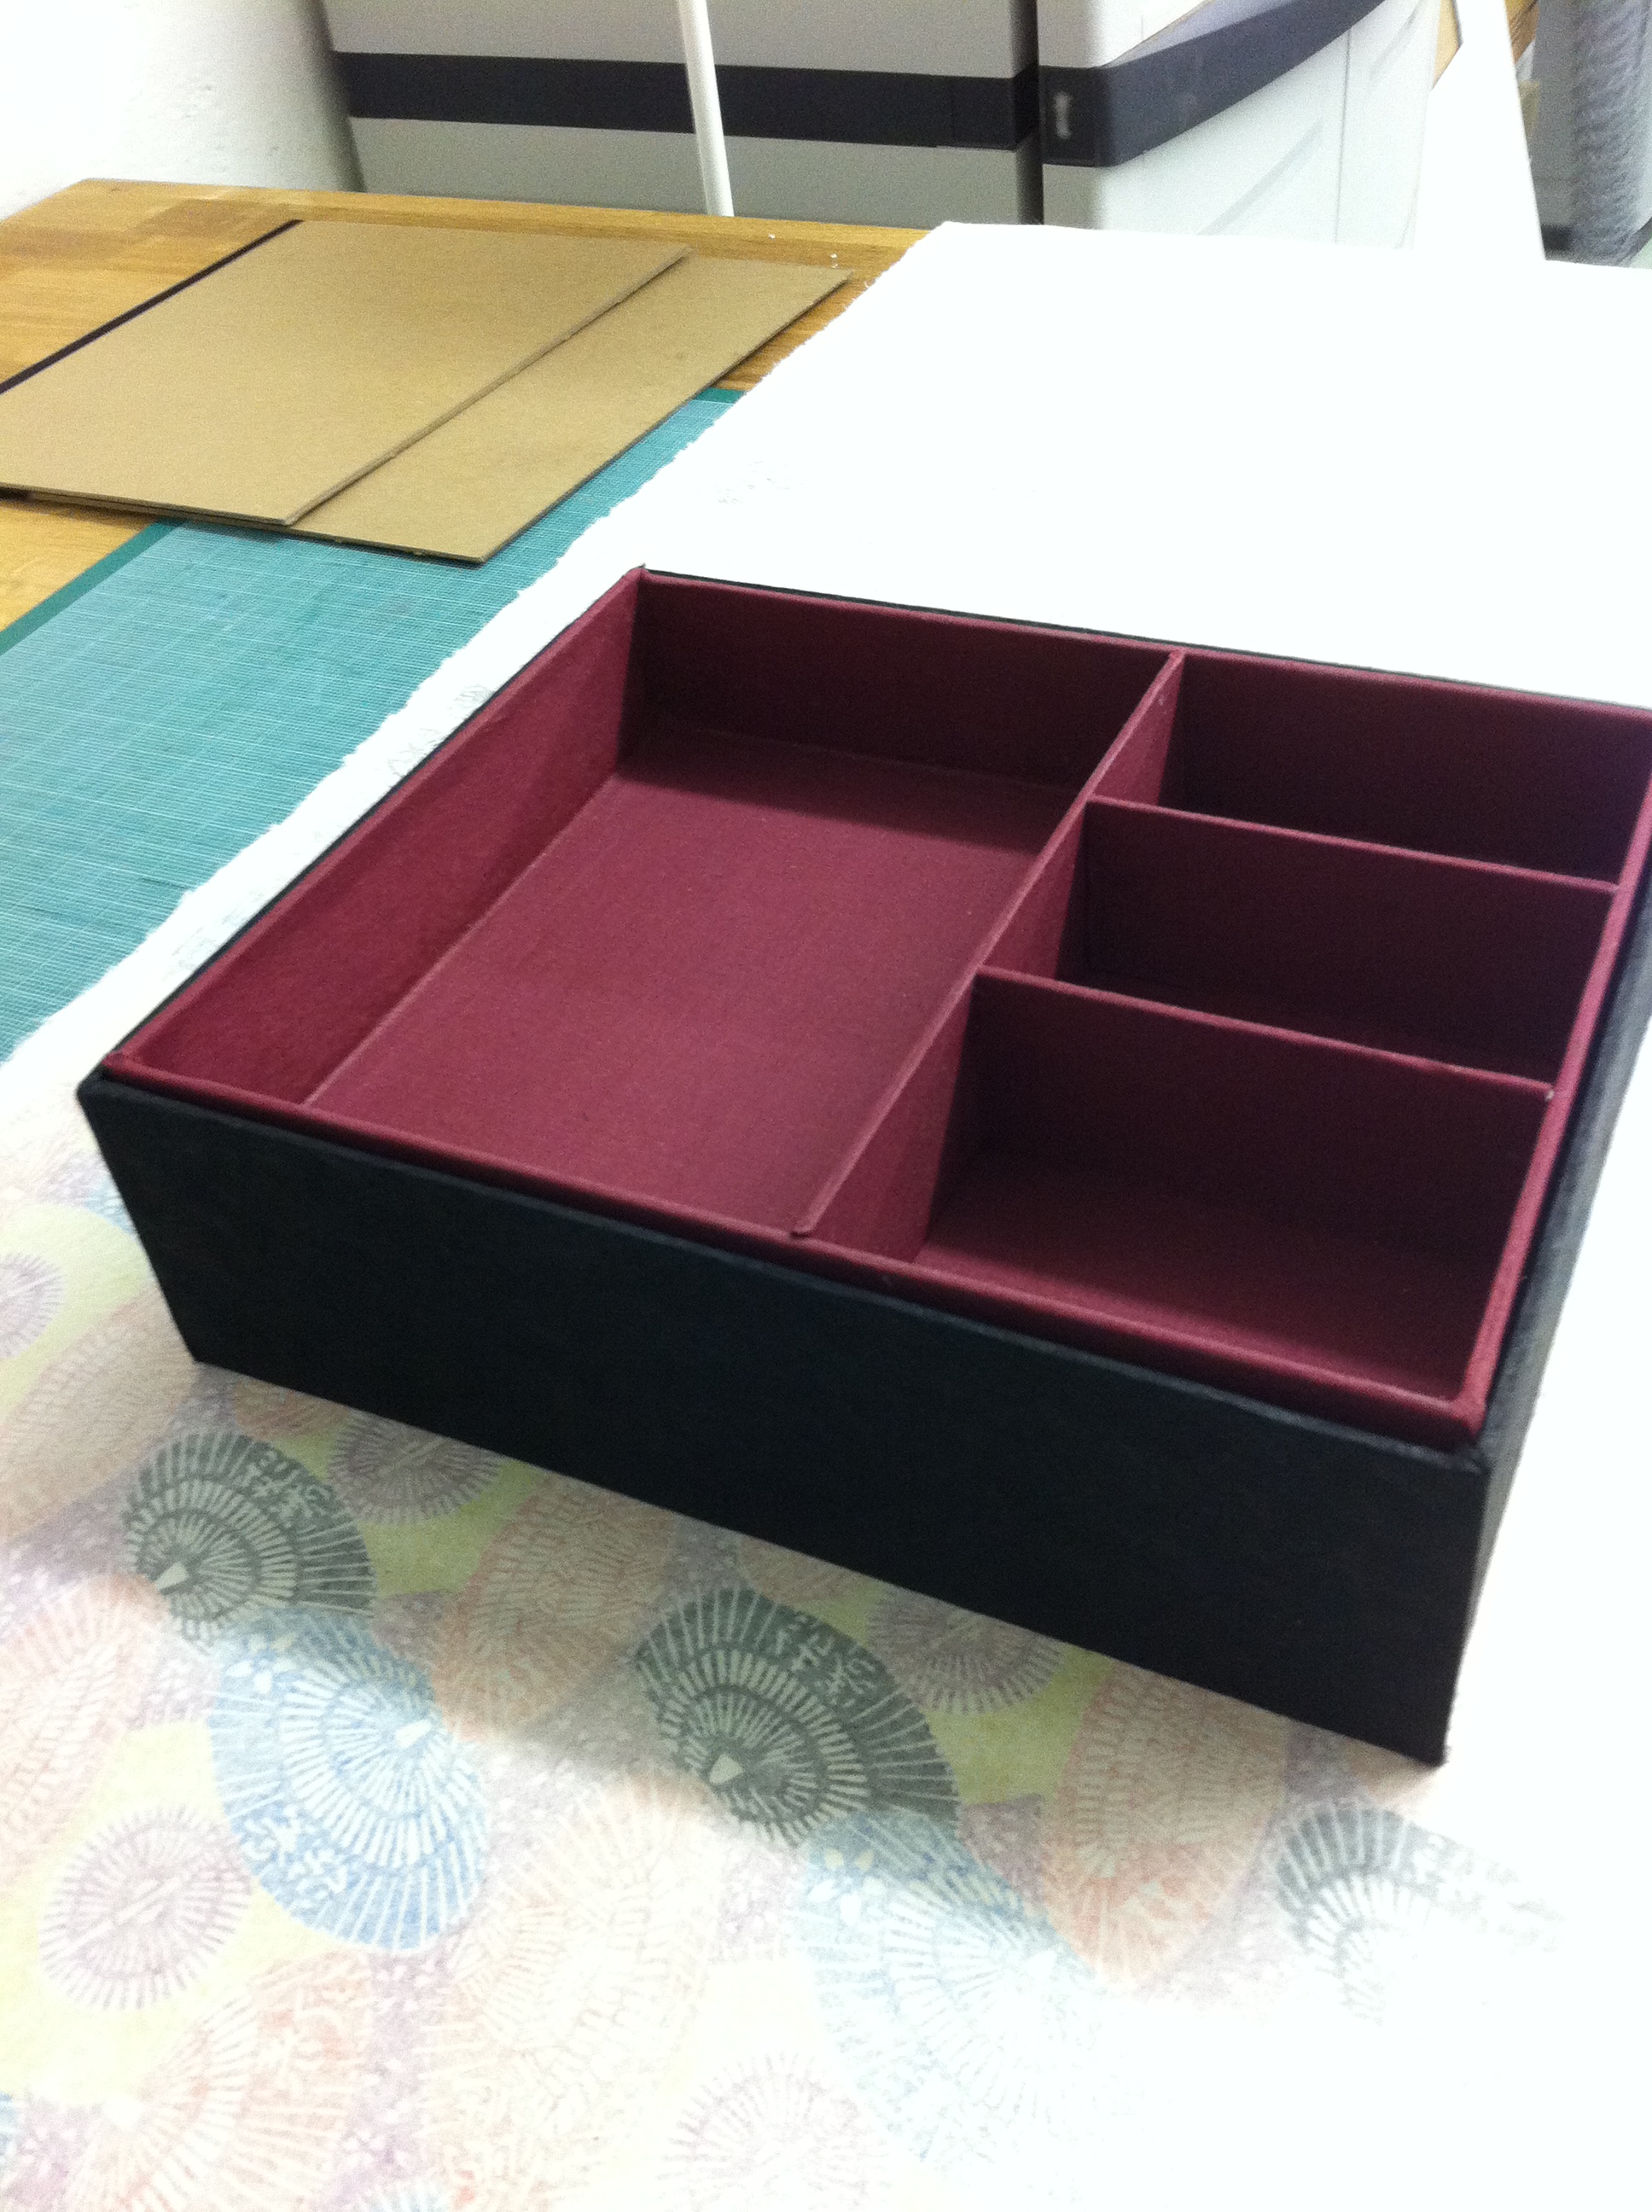
I don’t recall if I put a post up here on the jewelry box I am working on. It is more than just a box… it will also have a tray insert. Getting all the measurements down has been really tough on this one. I think I had a kit for a box (one of the first things I made), that had you put the sides of the box down at the same level as the bottom of the box (meaning it goes around the outside of the bottom of the box. I was just up in Seattle and found a book that describes it a different way. With the boards on the outside, all measurements need to take into account the actual width of the board, which is like 3/16 of an inch. My eyes just don’t see it… and the width of the pencil, unless really sharp, is about a 1/16 of an inch… so errors creep into it. I must have made 2 bottoms and 2 difference insert trays. None of which fit perfectly with each other. So this weekend I kept on of the bottom boxes and built a new tray insert using putting the side boards on top of the bottom board. Much better. I still need to take into account that the height of the insert tray is about 1/16 of inch higher than normal. But much easier to deal with 1 dimension like that.
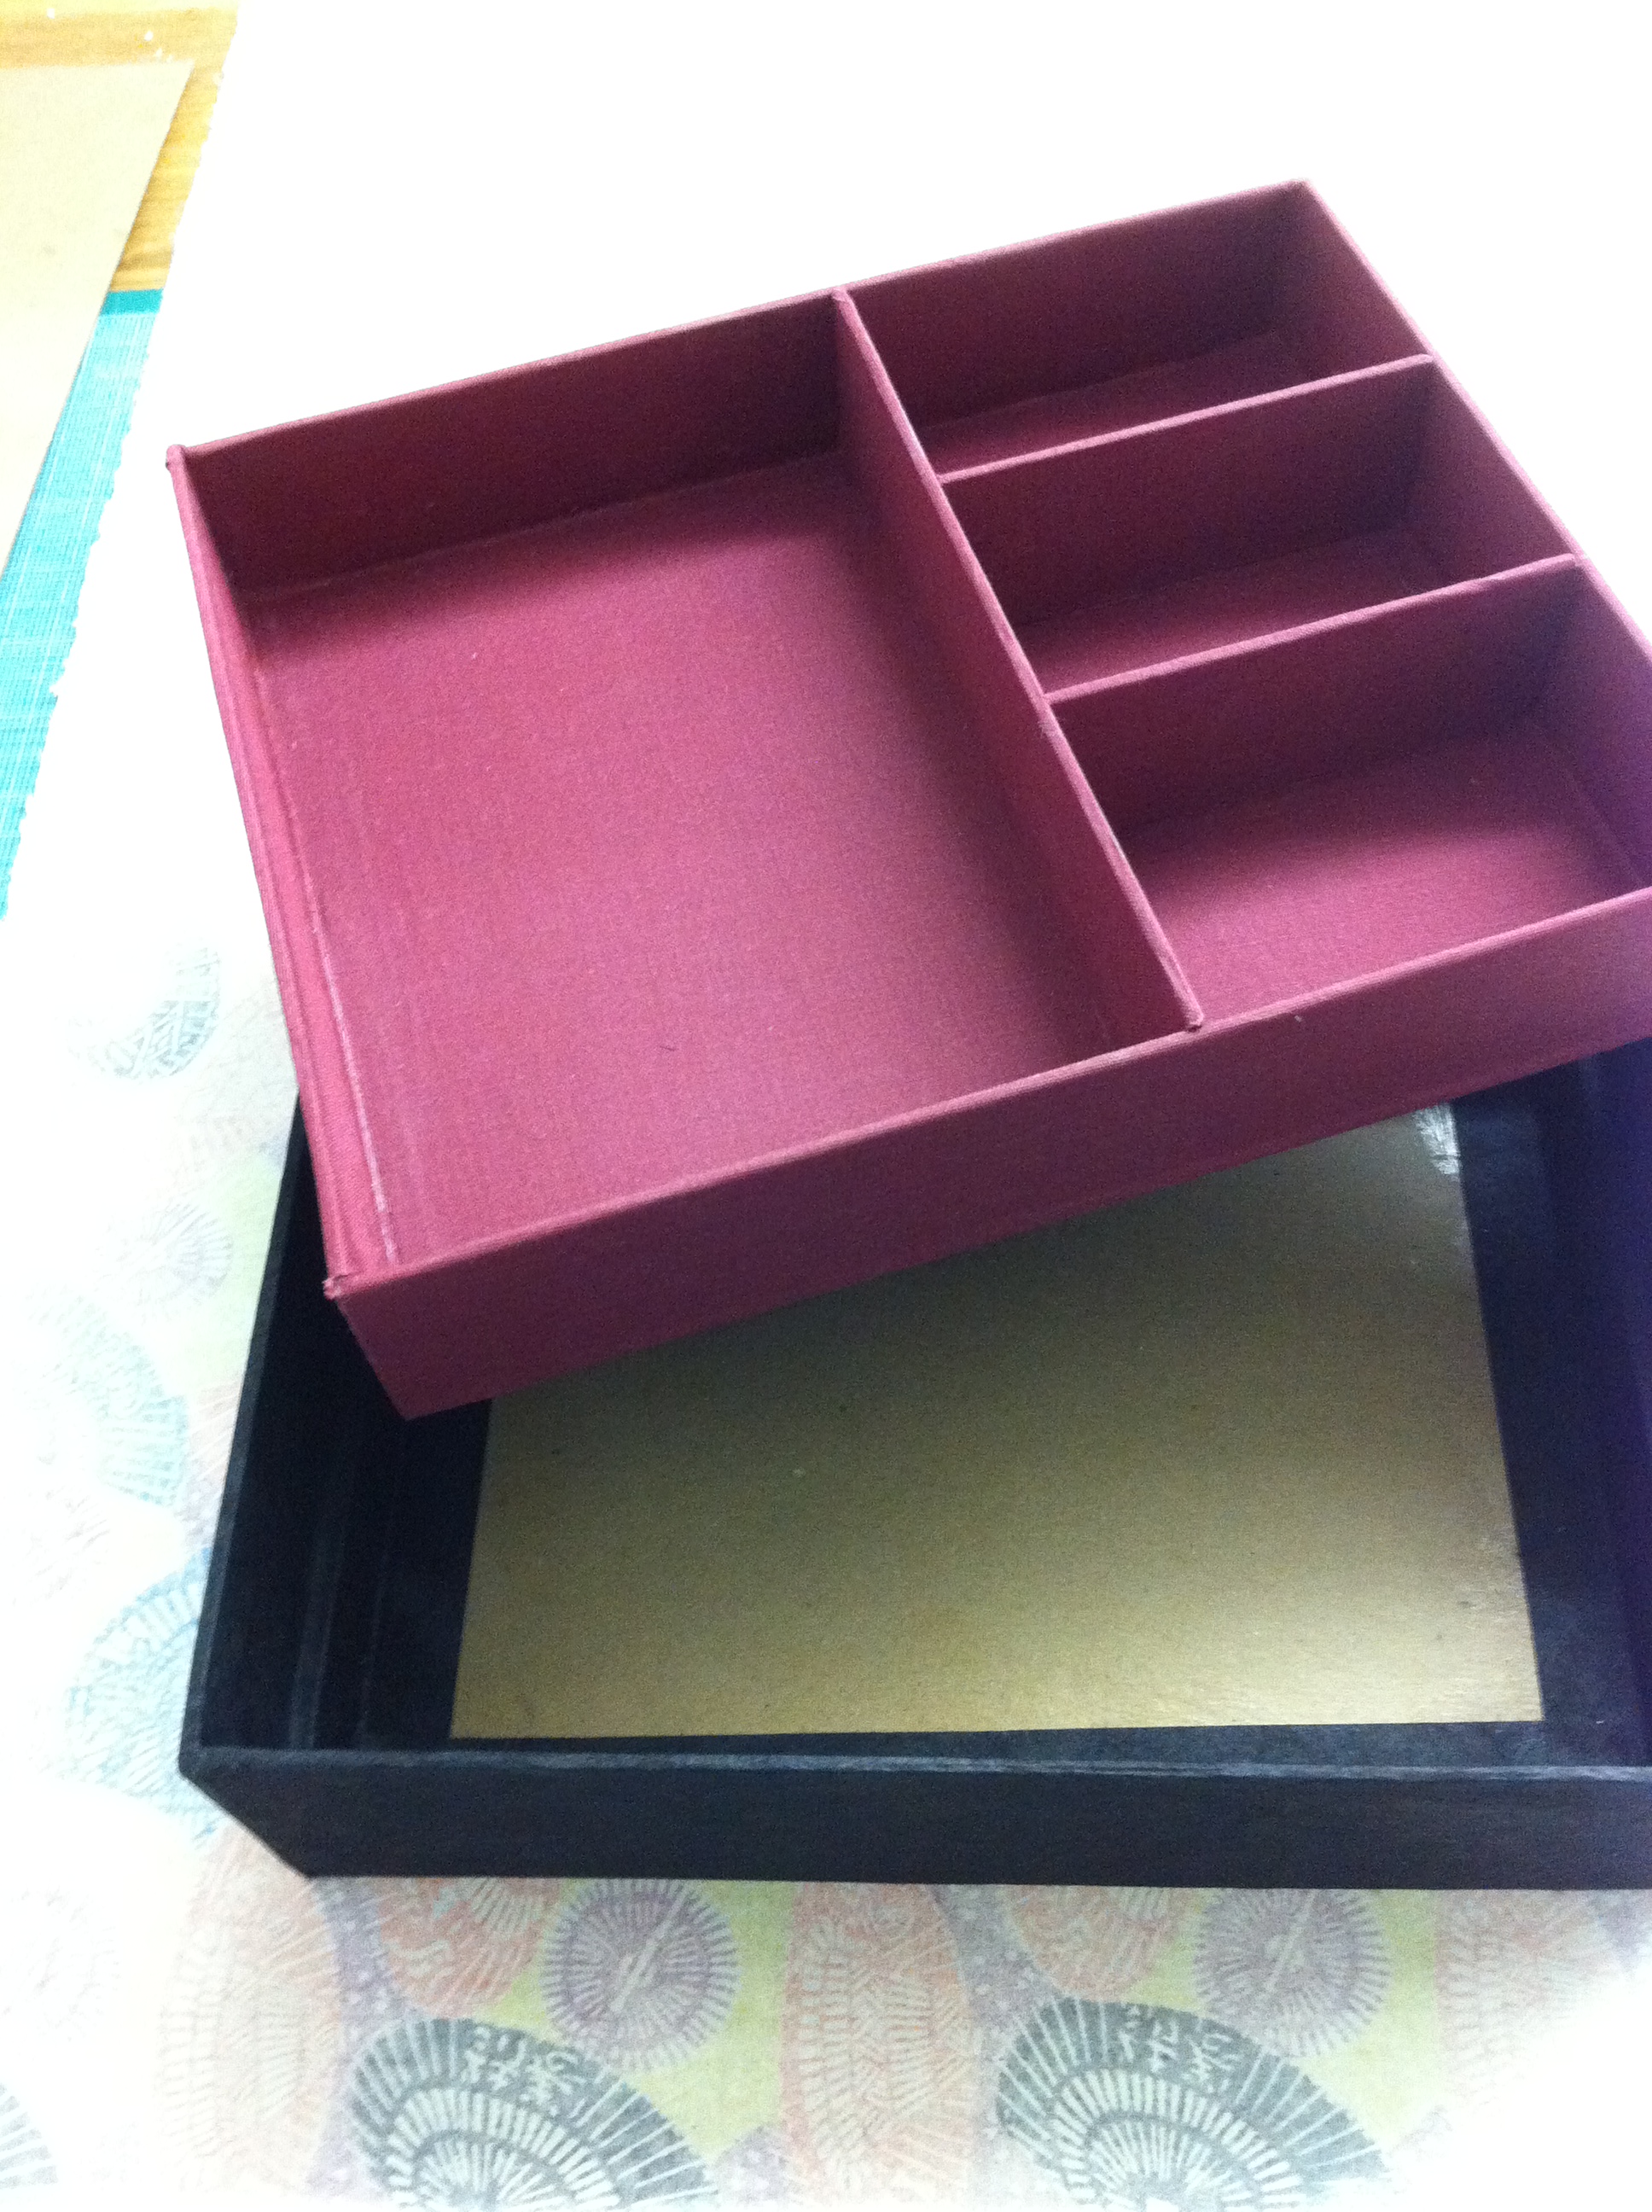
Also, when I was building the other trays, I would build the tray and put the dividers in. Didn’t take into account that trying to cover the tray would be a nightmare like that. So this time I covered the insert pieces individually and then glued it in. I am not 100% happy. Not sure how do deal with fitting a tight fit like that and not have glue go all over the place.
Anyway, this is the current status of it. I really like it. I am going to finish covering the outside of the box tonight. And will even put a pull-tab for lifting the lid. If I had been smart (and will be next time), I will put the same pull tabs on the insert to make lifting it out easier.

good jewelry ! in your site
http://ljewelryfreel.com
LikeLike